


- Details
- Written by Super User
- Category: Demo Info
- Hits: 3560
Image and Content Fader Code:
This is for the code that we used in the "description" box for the image and content fader.
<span class="center">
<span class="s5_iacfbig">60 Minute Massage</span><br>
Packages
<br>
<a href="#s5_bottom_row1_area1" class="readon">View Packages</a>
</span>
<span class="s5_iacfbig">60 Minute Massage</span><br>
Packages
<br>
<a href="#s5_bottom_row1_area1" class="readon">View Packages</a>
</span>
Custom 2 and Custom 3:
The following area shows the "S5 Tab Show" module published to the custom_2 module position with a class of "-righttab" set to it. This enables only the right arrow to show if you have arrows enabled in the Tab Show admin. It also includes the specially designed arrow that butts up next to the custom_3 module position that has a white background. The below code is what we used for the play button and text published to the first tab show position of "s5_tab1":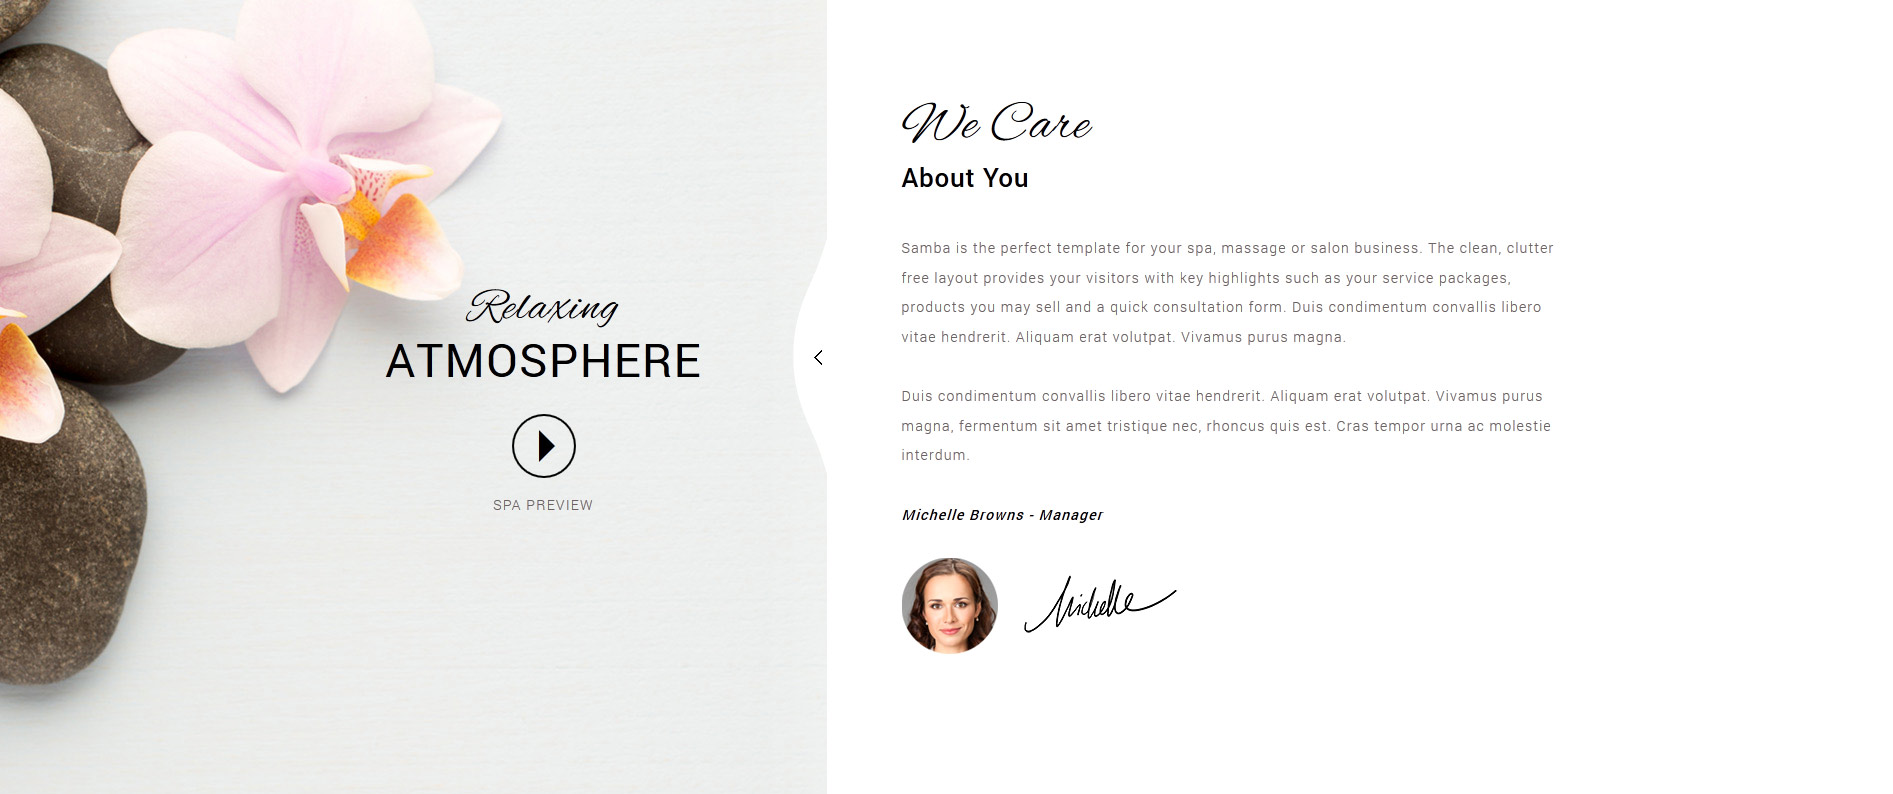
<br><br>
<span class="s5relaxingatmos">
<span class="highlightfont">Relaxing</span>
<br>
<span class="s5uppercase">Atmosphere</span>
</span>
<br>
<a rel="width:800,height:447" class="s5mb s5circlebutton" href="http://www.youtube.com/v/VGiGHQeOqII" id="youtube" title="Tour our Spa"><span
class="ion-android-arrow-dropright"></span></a>
<span class="s5spapreview s5uppercase">Spa Preview</span>
<br><br>
Custom 4 and Custom 5:
The following area shows the "S5 Tab Show" module published to the custom_5 module position with a class of "-lefttab" set to it. This enables only the left arrow to show if you have arrows enabled in the Tab Show admin. It also includes the specially designed arrow that butts up next to the custom_4 module position that has a white background. The below code is what we used for the cart and products published to the first tab show position of "s5_tab4". NOTE: You will see the width_33 in the below code. This means 3 in a row. You can also change the 33 to either 50 or 25. 50 for 2 in a row and 25 for 4: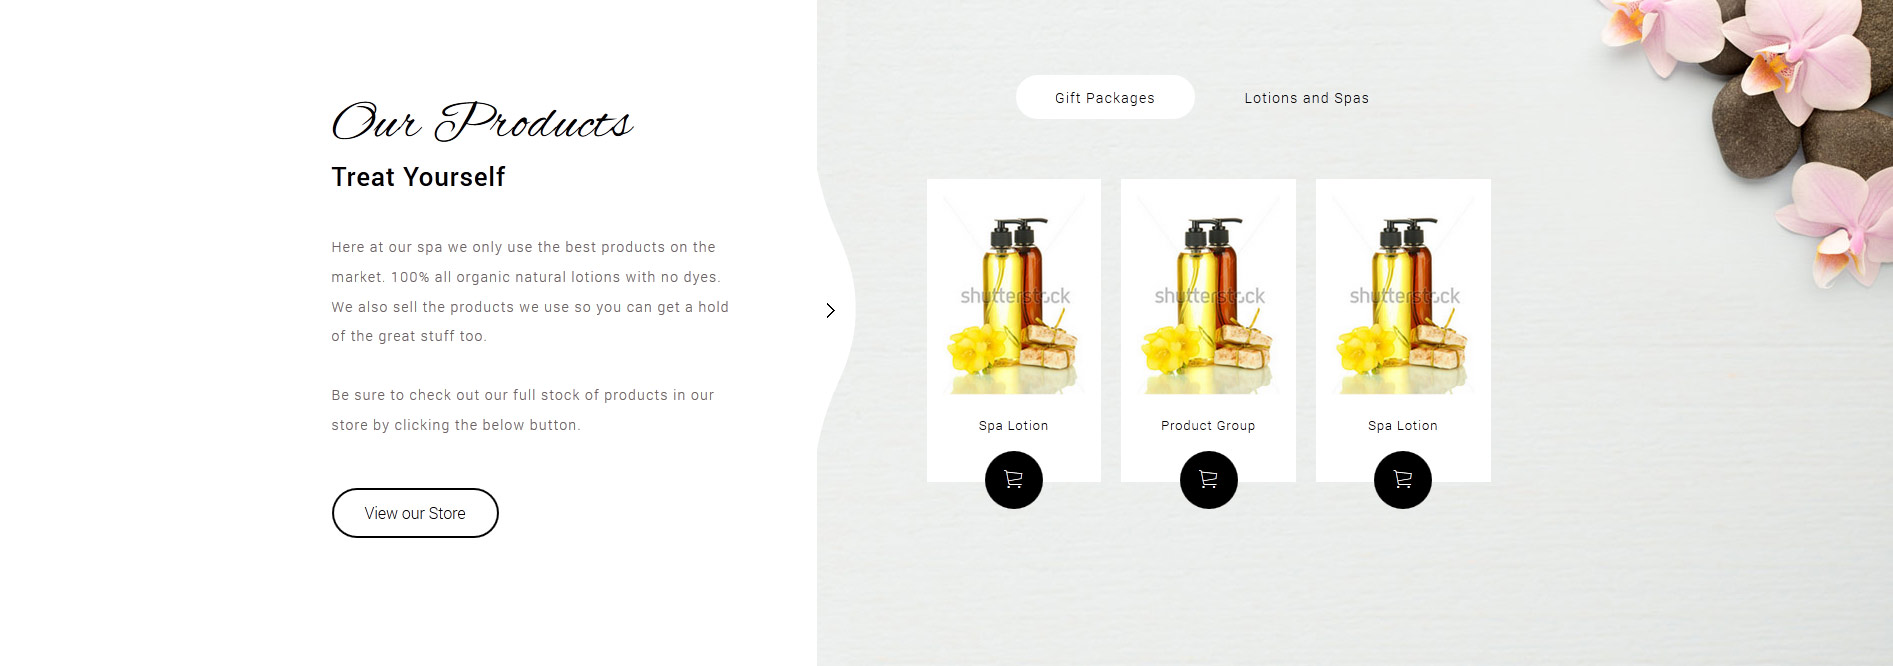
<div class="product_width_33 product_width">
<div class="product_outer">
<div class="product">
<a href="#">
<img src="images/product1.jpg" alt="product1" />
Spa Lotion<br/>
$10.99
</a>
<a class="product_buybutton snipcart-add-item" href="#" href="#" data-item-id="1"
data-item-name="Lotion"
data-item-price="10.99"
data-item-url="http://www.shape5.com/demo/samba/1"
data-item-description="Lotion"><span class="ion-ios-cart-outline"></span></a>
</div>
</div>
<div class="product_outer">
<div class="product">
<a href="#">
<img src="images/product2.jpg" alt="product1" />
Product Group<br/>
$15.99
</a>
<a class="product_buybutton snipcart-add-item" href="#" data-item-id="2
data-item-name="Lotion"
data-item-price="15.99"
data-item-url="http://www.shape5.com/demo/samba/2"
data-item-description="Lotion"><span class="ion-ios-cart-outline"></span></a>
</div>
</div>
<div class="product_outer">
<div class="product">
<a href="#">
<img src="images/product3.jpg" alt="product1" />
Spa Lotion<br/>
$8.99
</a>
<a class="product_buybutton snipcart-add-item" href="#" data-item-id="3
data-item-name="Soaps"
data-item-price="8.99"
data-item-url="http://www.shape5.com/demo/samba/3"
data-item-description="Soaps"><span class="ion-ios-cart-outline"></span></a>
</div>
</div>
</div>
<div class="product_outer">
<div class="product">
<a href="#">
<img src="images/product1.jpg" alt="product1" />
Spa Lotion<br/>
$10.99
</a>
<a class="product_buybutton snipcart-add-item" href="#" href="#" data-item-id="1"
data-item-name="Lotion"
data-item-price="10.99"
data-item-url="http://www.shape5.com/demo/samba/1"
data-item-description="Lotion"><span class="ion-ios-cart-outline"></span></a>
</div>
</div>
<div class="product_outer">
<div class="product">
<a href="#">
<img src="images/product2.jpg" alt="product1" />
Product Group<br/>
$15.99
</a>
<a class="product_buybutton snipcart-add-item" href="#" data-item-id="2
data-item-name="Lotion"
data-item-price="15.99"
data-item-url="http://www.shape5.com/demo/samba/2"
data-item-description="Lotion"><span class="ion-ios-cart-outline"></span></a>
</div>
</div>
<div class="product_outer">
<div class="product">
<a href="#">
<img src="images/product3.jpg" alt="product1" />
Spa Lotion<br/>
$8.99
</a>
<a class="product_buybutton snipcart-add-item" href="#" data-item-id="3
data-item-name="Soaps"
data-item-price="8.99"
data-item-url="http://www.shape5.com/demo/samba/3"
data-item-description="Soaps"><span class="ion-ios-cart-outline"></span></a>
</div>
</div>
</div>
Cart and Phone/Address:
The cart is simply the "S5 Simple Cart" module published to the "cart" position. As for the phone and address the below code is pasted in a custom HTML module to the "phone_hours" module position:
<span class="s5_phonenumber">800 - 456 - 9513</span>
<span class="s5_openhours">Mon - Fri 9am - 5pm</span>
<span class="s5_openhours">Mon - Fri 9am - 5pm</span>
Massage Packages:
This is the below code we used for the Massage Packages area and what is published to the "s5_tab3" position: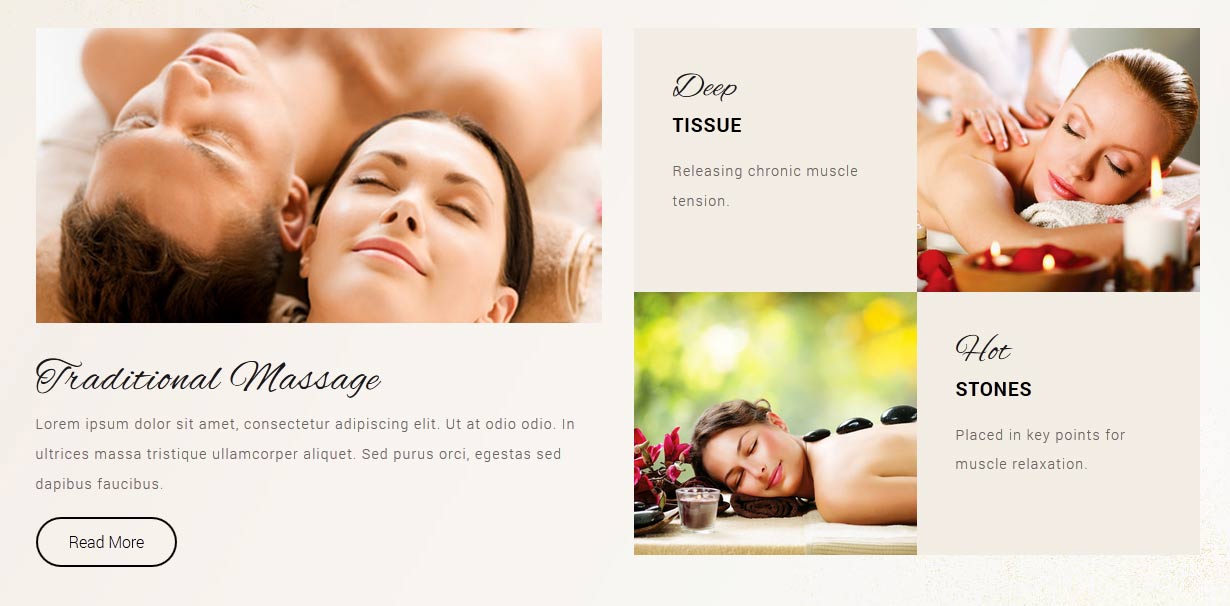
<div class="pages_portfolio two">
<div class="pages_padding">
<div class="overlay_hover_outer">
<div class="overlay_hover_inner">
<div class="overlay_centered">
<a href="#">
<span class="overlay_icon ion-forward"></span>
</a>
</div>
</div>
<img src="images/couplemassage.jpg" alt="image"/>
</div>
<br>
<h3 class="highlightfont" style="font-size:3em;">Traditional Massage</h3>
Lorem ipsum dolor sit amet, consectetur adipiscing elit. Ut at odio odio. In ultrices massa tristique ullamcorper aliquet. Sed purus orci, egestas sed dapibus faucibus.<br><br>
<a class="readon" href="#">Read More</a>
</div>
</div>
<div class="pages_portfolio two">
<div class="pages_padding">
<div class="pages_square">
<div class="pages_50 pages_top_left">
<span class="pages_fontsize">
<h3 class="highlightfont">Deep</h3>
<strong class="uppercase">Tissue</strong><br>
</span>
Releasing chronic muscle tension.
</div>
<div class="pages_50 pages_top_right">
<div class="overlay_hover_outer">
<div class="overlay_hover_inner">
<div class="overlay_centered">
<a href="#">
<span class="overlay_icon ion-forward"></span>
</a>
</div>
</div>
<img src="images/massagepackages2.jpg" alt="image"/>
</div>
</div>
<div style="clear:both;"></div>
</div>
<div style="clear:both;"></div>
<div class="pages_square">
<div class="pages_50 pages_bottom_left">
<div class="overlay_hover_outer">
<div class="overlay_hover_inner">
<div class="overlay_centered">
<a href="#">
<span class="overlay_icon ion-forward"></span>
</a>
</div>
</div>
<img src="images/massagepackages3.jpg" alt="image"/>
</div>
</div>
<div class="pages_50 pages_bottom_right">
<span class="pages_fontsize">
<h3 class="highlightfont">Hot</h3>
<strong class="uppercase">Stones</strong><br>
</span>
Placed in key points for muscle relaxation.
</div>
<div style="clear:both;"></div>
</div>
</div>
</div>
<div class="pages_padding">
<div class="overlay_hover_outer">
<div class="overlay_hover_inner">
<div class="overlay_centered">
<a href="#">
<span class="overlay_icon ion-forward"></span>
</a>
</div>
</div>
<img src="images/couplemassage.jpg" alt="image"/>
</div>
<br>
<h3 class="highlightfont" style="font-size:3em;">Traditional Massage</h3>
Lorem ipsum dolor sit amet, consectetur adipiscing elit. Ut at odio odio. In ultrices massa tristique ullamcorper aliquet. Sed purus orci, egestas sed dapibus faucibus.<br><br>
<a class="readon" href="#">Read More</a>
</div>
</div>
<div class="pages_portfolio two">
<div class="pages_padding">
<div class="pages_square">
<div class="pages_50 pages_top_left">
<span class="pages_fontsize">
<h3 class="highlightfont">Deep</h3>
<strong class="uppercase">Tissue</strong><br>
</span>
Releasing chronic muscle tension.
</div>
<div class="pages_50 pages_top_right">
<div class="overlay_hover_outer">
<div class="overlay_hover_inner">
<div class="overlay_centered">
<a href="#">
<span class="overlay_icon ion-forward"></span>
</a>
</div>
</div>
<img src="images/massagepackages2.jpg" alt="image"/>
</div>
</div>
<div style="clear:both;"></div>
</div>
<div style="clear:both;"></div>
<div class="pages_square">
<div class="pages_50 pages_bottom_left">
<div class="overlay_hover_outer">
<div class="overlay_hover_inner">
<div class="overlay_centered">
<a href="#">
<span class="overlay_icon ion-forward"></span>
</a>
</div>
</div>
<img src="images/massagepackages3.jpg" alt="image"/>
</div>
</div>
<div class="pages_50 pages_bottom_right">
<span class="pages_fontsize">
<h3 class="highlightfont">Hot</h3>
<strong class="uppercase">Stones</strong><br>
</span>
Placed in key points for muscle relaxation.
</div>
<div style="clear:both;"></div>
</div>
</div>
</div>
Testimonial Area:
This is the code we used for the testimonial area. This code is published to the "s5_tab7" module position.
<div class="s5_test_spacing">
<div class="s5_rounded_img">
<img src="images/testimonial1.jpg" alt="testimonial1"/>
</div>
<blockquote>
This massage was amazing sore spots, improves circulation, and provides much needed relaxation for moms-to-be.
<div class="s5testname">Rose Montgomery</div>
</blockquote>
</div>
<div class="s5_rounded_img">
<img src="images/testimonial1.jpg" alt="testimonial1"/>
</div>
<blockquote>
This massage was amazing sore spots, improves circulation, and provides much needed relaxation for moms-to-be.
<div class="s5testname">Rose Montgomery</div>
</blockquote>
</div>
Book an Appointment:
This is the code used for the book an appointment area:
<div class="s5_stressrelief">
<span class="highlightfont">
Need Some Stress Relief?
</span>
<br>
<span class="s5uppercase">
Book an appointment today
</span>
<br>
<a class="readon" href="#">Book Today</a>
</div>
<span class="highlightfont">
Need Some Stress Relief?
</span>
<br>
<span class="s5uppercase">
Book an appointment today
</span>
<br>
<a class="readon" href="#">Book Today</a>
</div>
Social Icons:
This is the code published to the "custom_6" module position:
<a class="social_icon ion-social-facebook" href="javascript:;"></a>
<a class="social_icon ion-social-twitter" href="javascript:;"></a>
<a class="social_icon ion-social-googleplus" href="javascript:;"></a>
<a class="social_icon ion-social-twitter" href="javascript:;"></a>
<a class="social_icon ion-social-googleplus" href="javascript:;"></a>
Our Store:
The below code is what we published to an article. With the "S5 Snip Cart" and Ion Icons enabled in the Vertex admin this is what your site will look like too. We created a menu item and linked it to a category and set the menu item to "list categories". We then created 3 categories and published to this top level parent category that the menu item "Our Store" is linking too. We then just published articles with the below content into each of the these categories along with uploading intro images and full page detail images.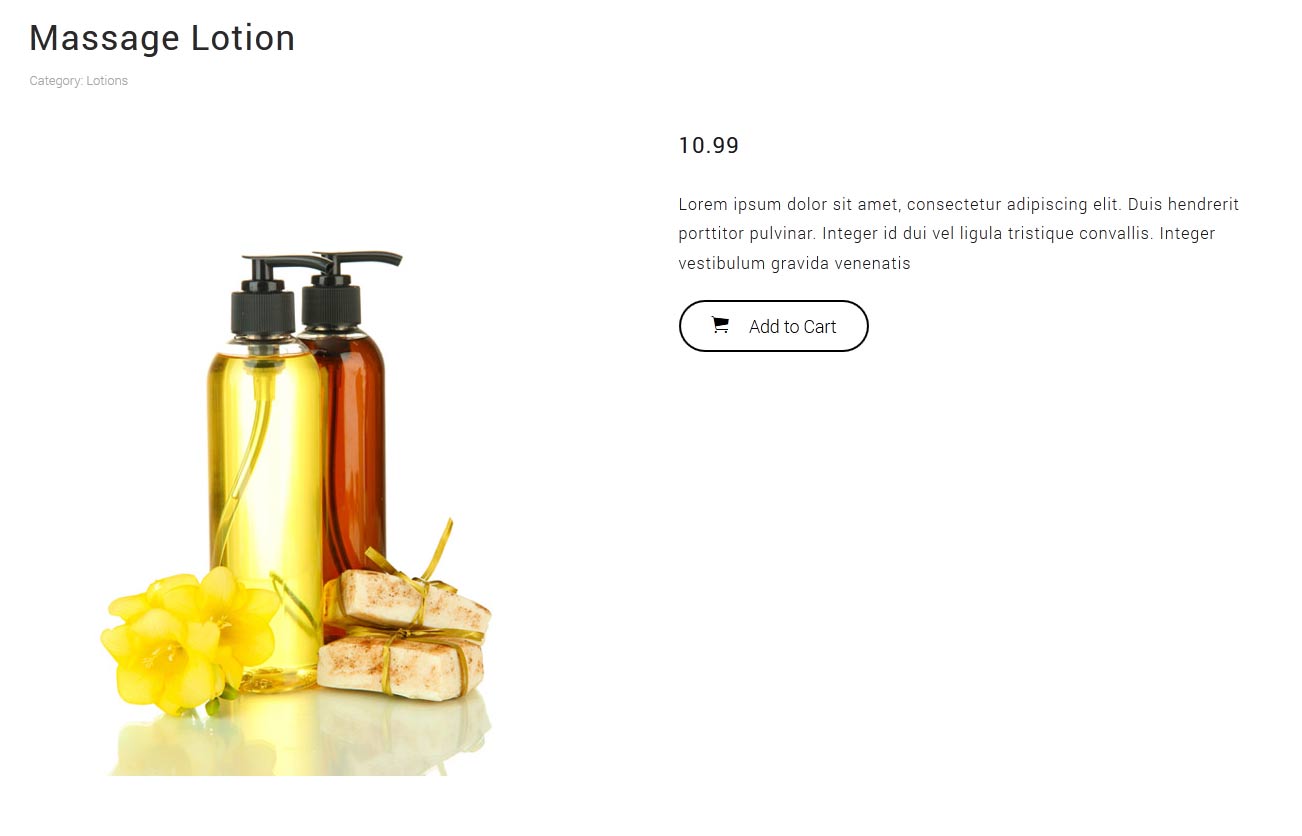
<span class="highlightfont2 favoritesprice">10.99</span>
<hr id="system-readmore" />
<br>
Lorem ipsum dolor sit amet, consectetur adipiscing elit. Duis hendrerit porttitor pulvinar. Integer id dui vel ligula tristique convallis. Integer vestibulum gravida venenatis
<br><br>
<a data-item-description="Lotion" data-item-url="http://www.shape5.com/demo/samba/1" data-item-price="4.99" data-item-name="Lotion" data-item-id="1"
class="button snipcart-add-item" href="#">
<span class="ion-ios-cart sized"></span>
Add to Cart
</a>
- Details
- Written by Super User
- Category: Demo Info
- Hits: 3043

- Details
- Written by Super User
- Category: Demo Info
- Hits: 44298
We recommend publishing to a module position that is near the bottom of your site. For example we have it published to our "bottom_menu" position for this demo.
NOTE: This is not a "live chat" it simply sends an email.
Features at a Glance:
- AJAX powered
- Spam controlled through Google reCaptcha
- Set the color and hover color
- Set the name, email, message and submit button text
- Sends mail via mail() php function
- Details
- Written by Super User
- Category: Demo Info
- Hits: 2793
Round icon example:
<div class="icon_outer_wrap">
<div class="icon_hover">
<a href="" class="ion-link icon_element"></a>
</div>
<div class="icon_non_hover">
<span class="ion-headphone icon_element"></span>
</div>
</div>
<div class="icon_hover">
<a href="" class="ion-link icon_element"></a>
</div>
<div class="icon_non_hover">
<span class="ion-headphone icon_element"></span>
</div>
</div>
Icon Examples:
<span class="ion-camera" style="display:
inline-block;font-size:2.5em;"></span>
- Details
- Written by Super User
- Category: Demo Info
- Hits: 2658
Example of this in action (refresh this page if you didn't see it already):
Enter from the left and move up 50px in 1.33 seconds.
Enter from the bottom after 1 second.
Wait 2.5 seconds and then ease-in-out 100px.
Code used for the above:
<div data-scroll-reveal="enter left and move 50px over 1.33s"> Enter from the left and move up 50px in 1.33 seconds. </div>
<div data-scroll-reveal="enter from the bottom after 1s"> Enter from the bottom after 1 second. </div>
<div data-scroll-reveal="wait 2.5s and then ease-in-out 100px"> Wait 2.5 seconds and then ease-in-out 100px. </div>
<div data-scroll-reveal="enter from the bottom after 1s"> Enter from the bottom after 1 second. </div>
<div data-scroll-reveal="wait 2.5s and then ease-in-out 100px"> Wait 2.5 seconds and then ease-in-out 100px. </div>